
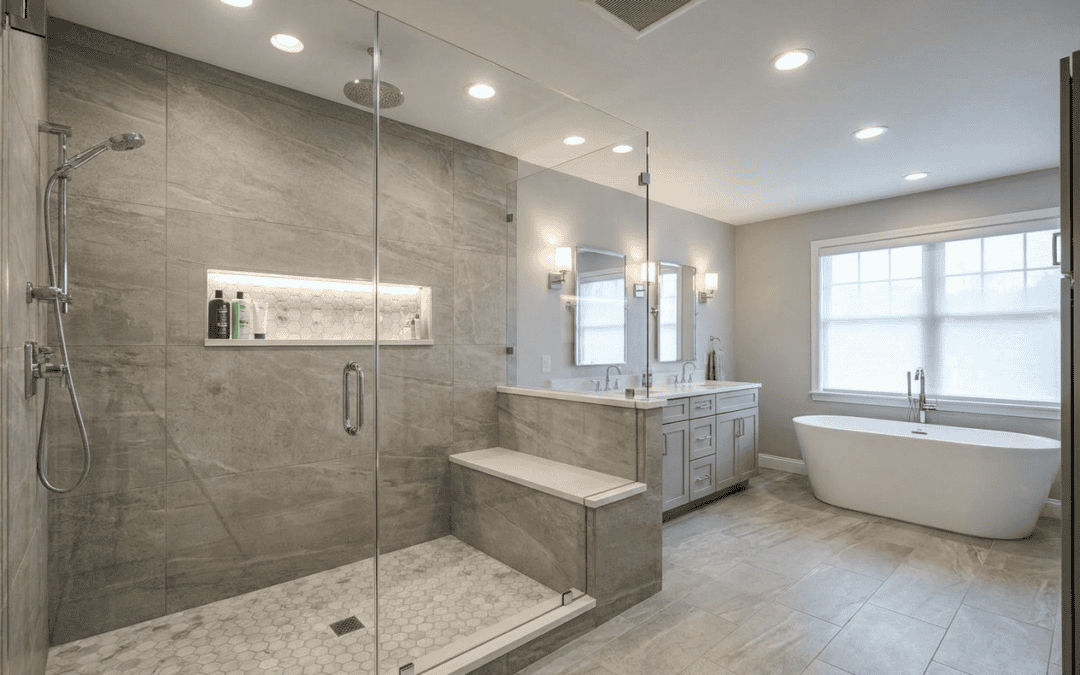
The best walk in shower ideas do more than remove a tub and add glass. A shower can look great in photos and still feel cramped, splash water onto the bathroom floor, or leave nowhere convenient to put soap.
Start with the space. Entry width, shower dimensions, drain location, controls, storage, and the amount of glass all affect how the shower feels every day.
Style comes after those decisions. Tile, fixtures, lighting, niches, benches, and glass should make a good layout better—not compensate for a bad one.
Walk-In Shower Ideas That Work in Real Bathrooms
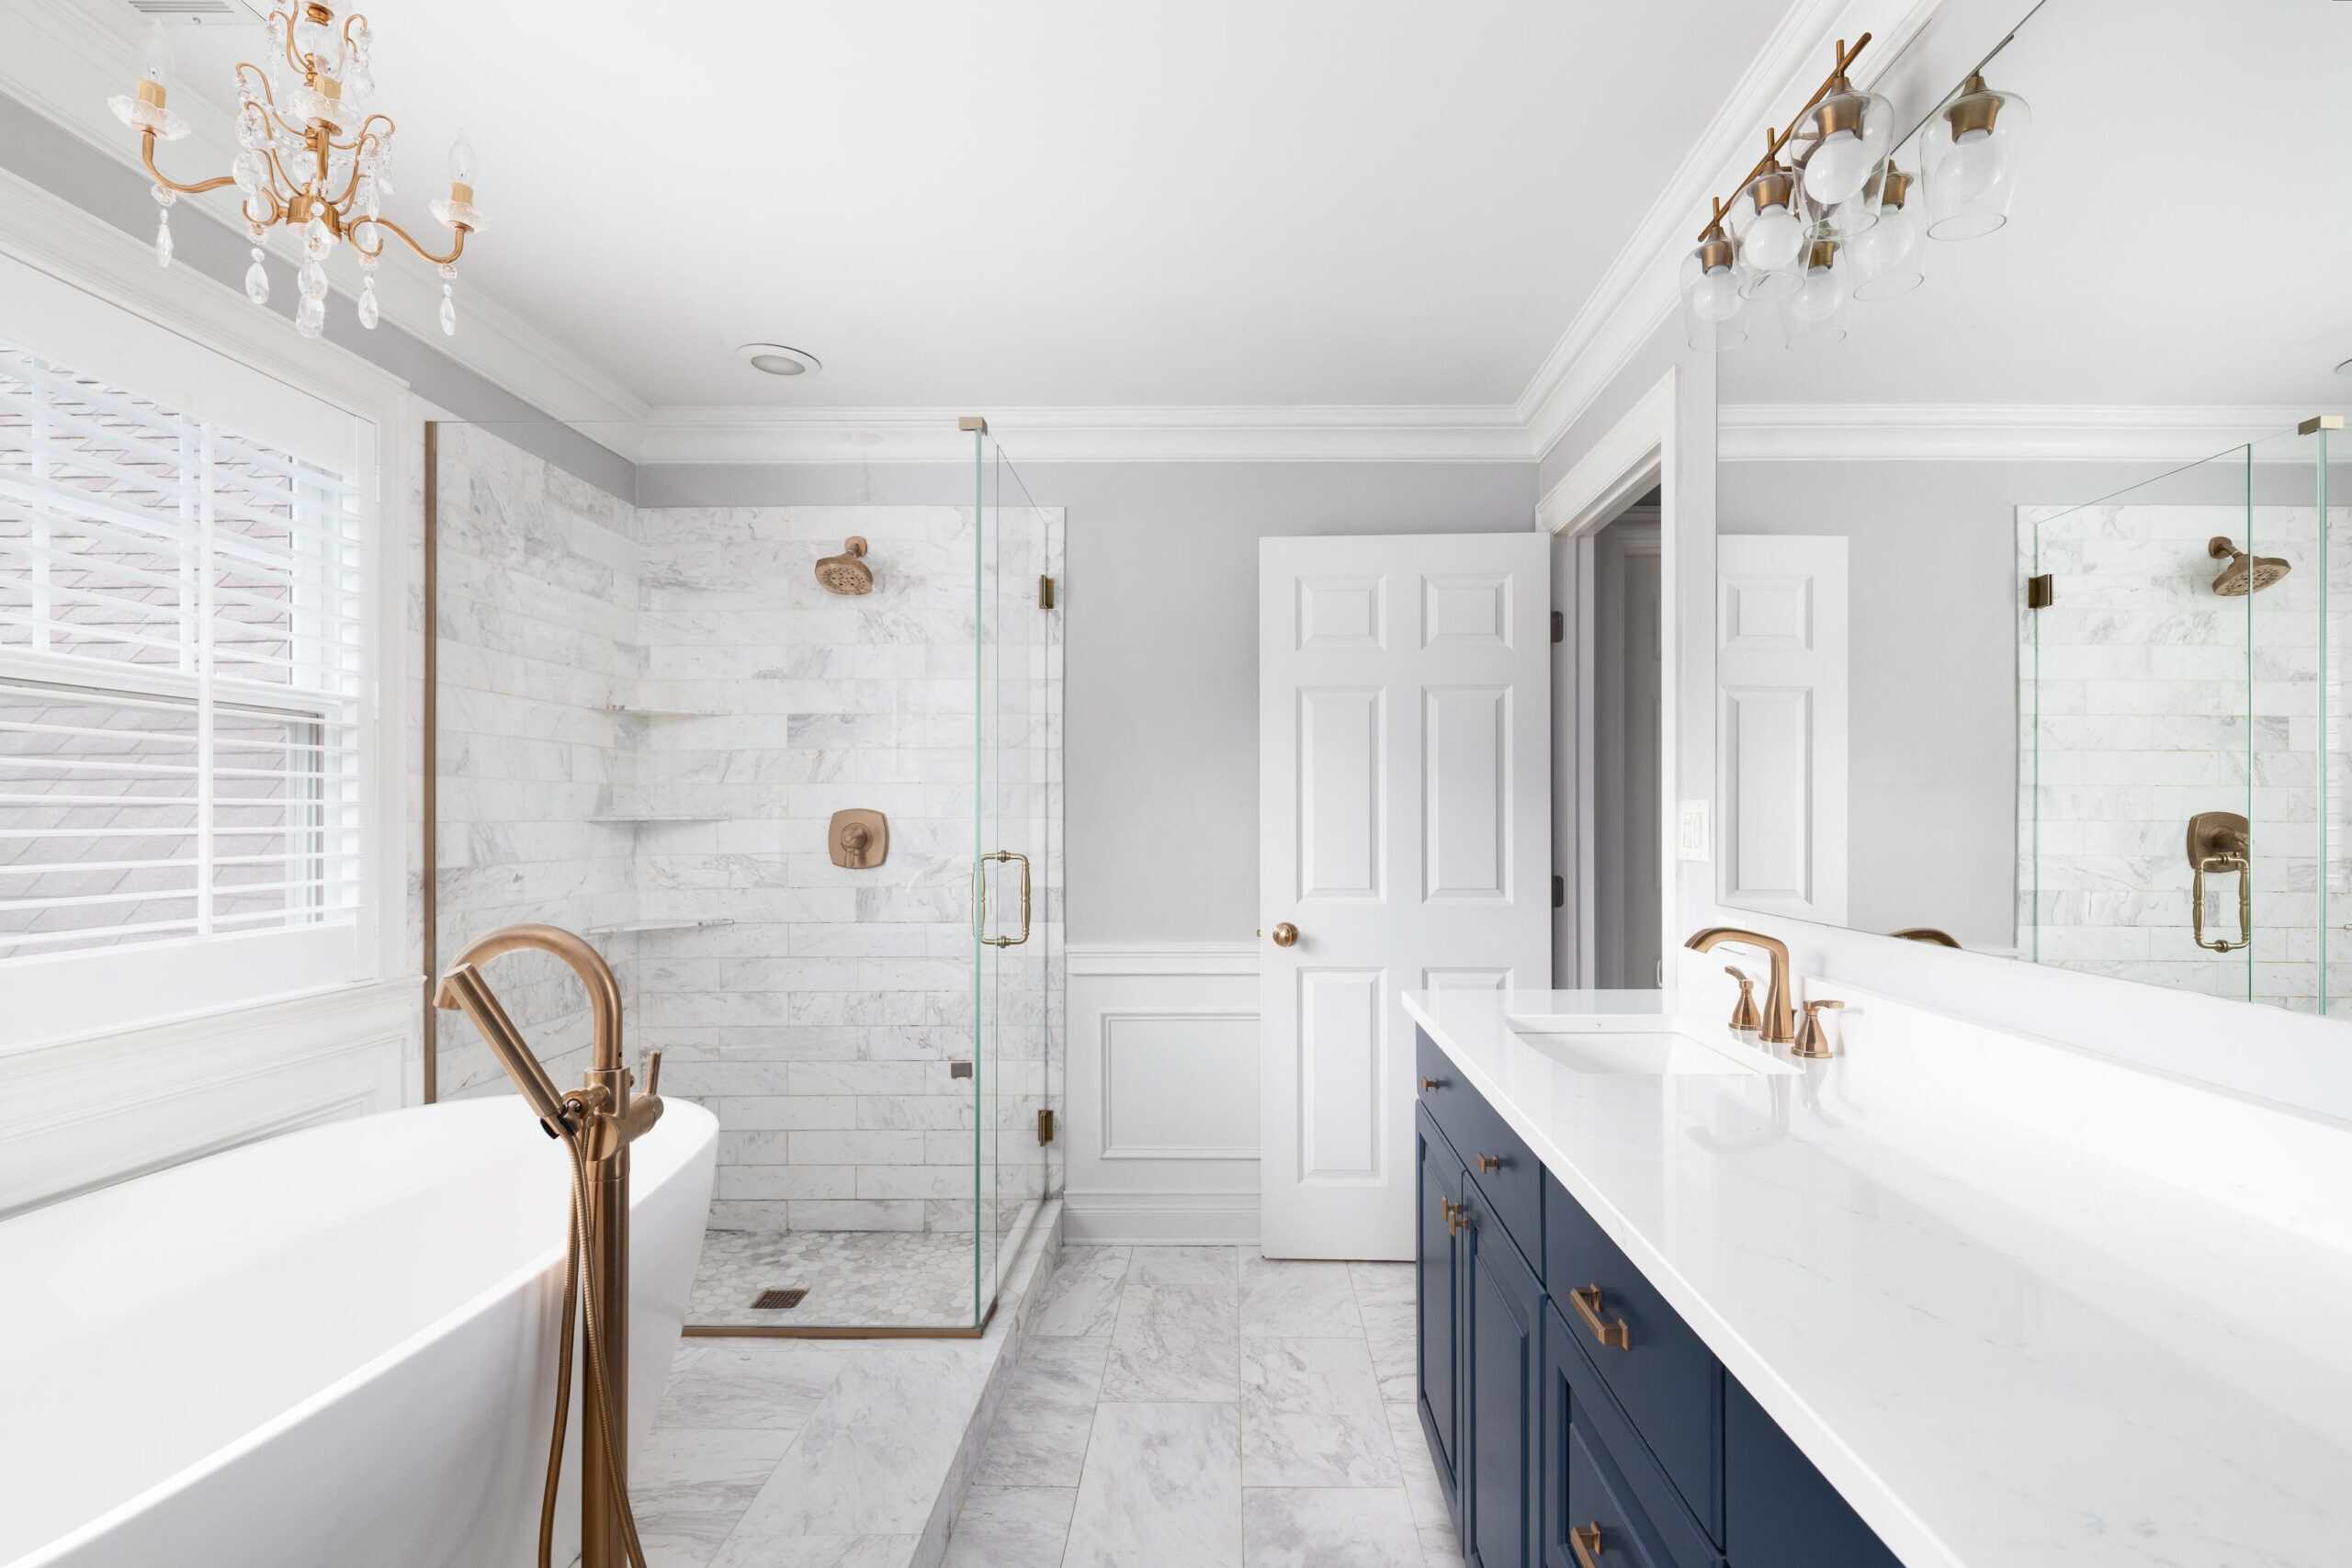
Most walk in showers can be adapted to the room rather than built around one standard setup. A compact shower may need clear glass and recessed storage to preserve space, while a larger shower can support built in seating, multiple fixtures, and more dramatic wall materials.
The priority is making the shower work for the people who live in the home. Before you settle on a design because you love the way it looks, mentally walk through how you will enter, reach the controls, store products, and get a towel without dripping across the room.
Use Frameless Glass to Keep the Room Open
Frameless glass doors are useful when you want the shower to feel connected to the rest of the bathroom. Clear glass allows tile, lighting, and natural light to continue visually through the room instead of creating another solid wall.
More glass is not automatically better. In a smaller bathroom, one fixed panel may provide enough splash control without adding a door that crowds the floor.
Fluted glass adds a touch of privacy while still allowing light through. If you want a bit more separation without building another wall, it can be worth exploring.
Choose Curbless or Low-Threshold Entry Carefully
A curbless shower can create a clean transition from the bathroom floor into the shower, and a low-threshold pan can provide much of the same ease of entry with simpler construction.
The mistake is treating a curbless shower as only a style choice. Floor slope, waterproofing, drain placement, and the reach of the shower spray all have to control water before it reaches the rest of the room.
Low-threshold layouts can also make it easier to enter the shower. Grab bars can be incorporated without making the bathroom design feel institutional, especially when wall reinforcement is planned before tile goes up.
Good planning should also acknowledge how the shower may be used several years from now, not just how it will be used today. That does not mean turning the project into an accessibility remodel; it means keeping easier entry, practical controls, and reinforcement in mind while the walls are open.
Project Manager Quick Tip: Decide on curbless versus low-threshold construction before framing and rough plumbing are finalized. Trying to change the entry after the floor system is built can turn a simple design preference into expensive rework.
Reduce Grout With Larger Tile or Slab Surfaces
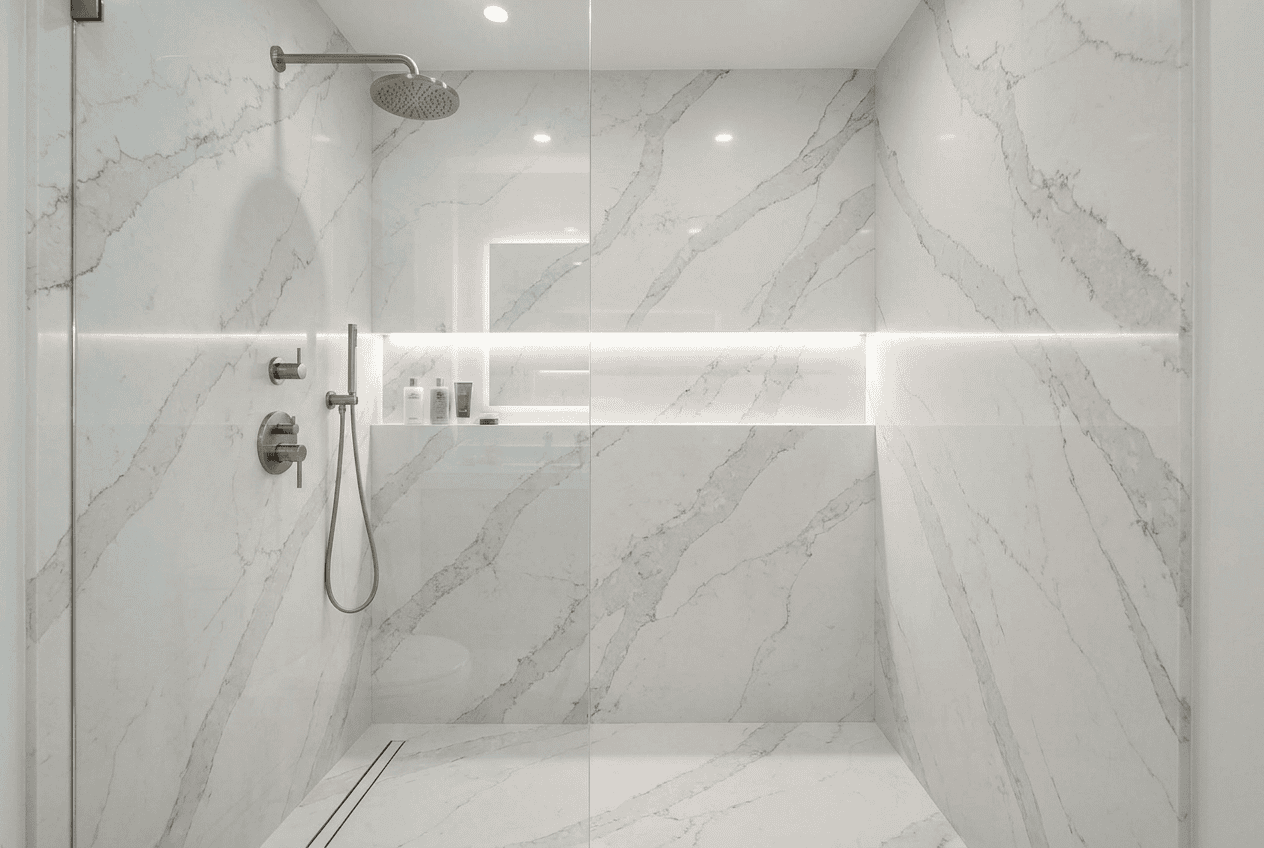
Large-format tile can make shower walls feel calmer while reducing the number of grout joints that need cleaning. Oversized porcelain slabs take that idea further and can create an almost continuous wall surface.
Small tile still has a place, especially on a shower floor where the material needs to follow the slope toward the drain. The wall and floor do not need to use the same tile size.
When comparing materials, read the manufacturer specifications rather than choosing only from a showroom sample. A product may look right for the house but still have installation or maintenance requirements that make another material a better choice.
Build Storage Into the Walls
Recessed niches keep bottles off the shower floor and eliminate hanging storage that makes a finished shower look cluttered.
Location matters more than adding as many niches as possible. Put storage where it is easy to reach without standing directly under the shower head.
A concealed niche on a side wall keeps products out of the main sightline. Accent lighting can add another touch to the design, but electrical and waterproofing details need to be ready before the walls close.
Keep the product page, fixture dimensions, and niche specifications available during planning. A contractor may also ask you to confirm selections by email so there is a clear record of what everyone agreed to install.
Add a Bench Only When It Fits
Built in seating is excellent when the shower has enough room. It can support shaving, bathing, or future mobility needs and can reinforce a spa-like look.
A bench that makes the standing area noticeably smaller is usually the wrong choice. In tighter walk in showers, a smaller corner seat or ledge may provide the function without consuming the floor.
A good sign that the bench is too large is when you have to squeeze around it to comfortably enter or use the fixtures. In that case, preserving open standing space matters more than adding another feature.
Think About Showerheads and Controls Together
Multiple showerheads sound luxurious, but fixture placement matters more than quantity. A fixed head, hand shower, or combination setup should be positioned so controls are easy to reach before you step fully into the water.
This is also where larger showers can become less practical than expected. If the controls are too far from the entry, you may have to walk into a cold shower just to turn it on.
Before you sign off on the fixture plan, make sure everyone can agree on where the controls, handheld fixture, niche, and bench belong. Confirming those choices by email can prevent confusion once rough plumbing begins.
Designer Quick Tip: Stand in the proposed shower layout on paper and imagine reaching for the controls, shampoo, towel, and bench. If those movements feel awkward in the plan, better tile will not fix them.
Shower Size, Entry Width & Drainage Need to Work Together
A shower needs enough space to move comfortably without making the rest of the bathroom feel squeezed. The right dimensions depend on the entry, fixtures, bench depth, and where the shower spray lands.
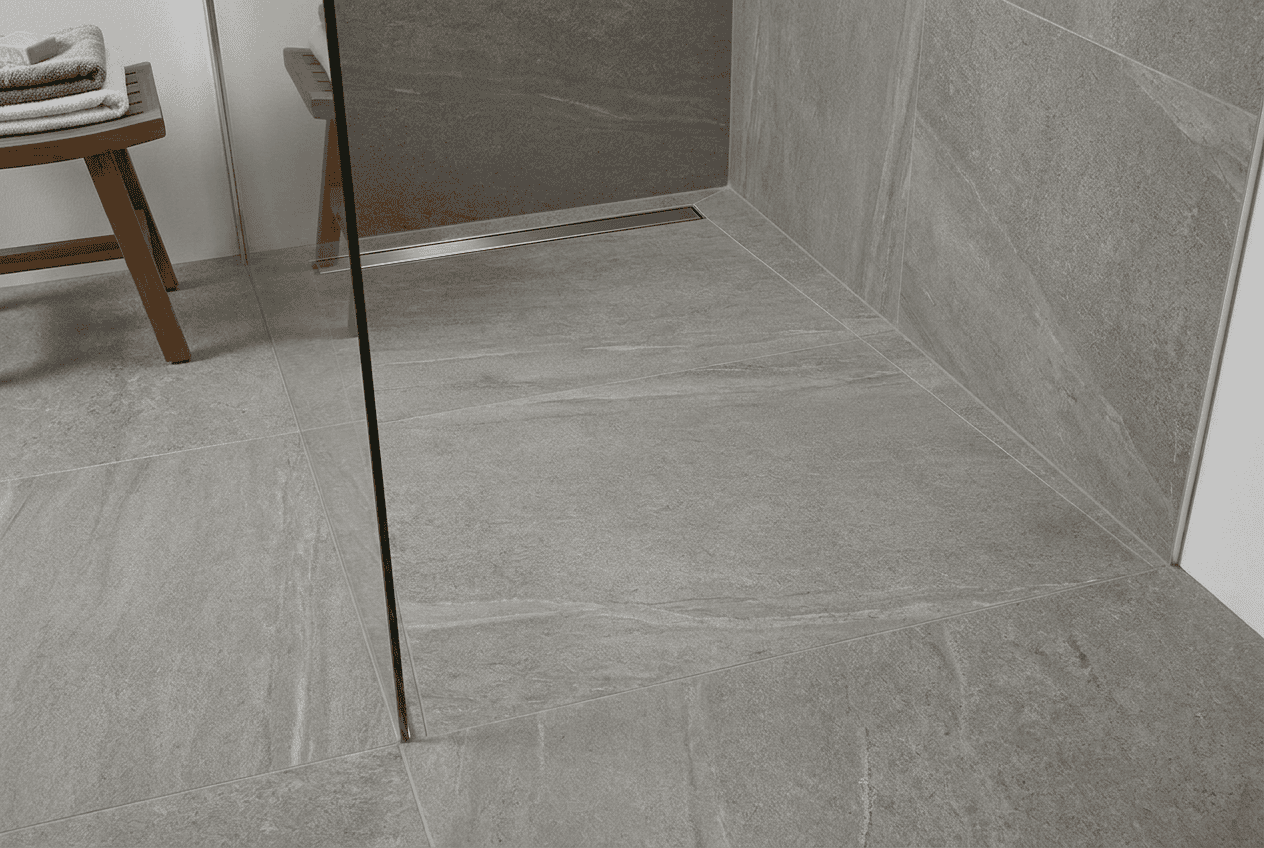
Linear drains can work well with large-format floor tile because they can support a single-direction slope. Traditional center drains often require the floor to slope from several directions, which typically favors smaller tile.
A visible puddle after normal use is a sign that drainage needs attention, while water consistently reaching the bathroom floor may be a sign that the glass, entry, slope, or fixture placement needs another look.
Drainage cannot be separated from waterproofing. The EPA’s bathroom remodeling guidance also emphasizes proper bathroom water management and ventilation, including exhausting moist air directly outdoors rather than into an attic or enclosed space.
It is important to understand that waterproofing problems may not become obvious right away. A small leak can continue behind a wall or below the floor for some time before the homeowner discovers a visible sign of damage.
Bathroom Design Should Extend Into the Shower
The shower should look like part of the bathroom design, not a separate display inserted into the room.
Repeat one or two materials instead of every finish. The bathroom floor might relate to a shower wall, while the vanity hardware connects to the shower fixtures. That is usually enough.
Lighting deserves attention too. Recessed shower lighting keeps the space from feeling darker than the rest of the bathroom, especially when there are tall walls, limited natural light, or higher ceilings.
A finish you love this year should still make sense with the rest of the home several years from now. Explore texture, stone looks, warmer metals, or fluted glass if they suit the room, but keep the permanent surfaces restrained enough that the overall design can continue to age well.
When a Tub-to-Shower Conversion Makes Sense
Replacing an unused tub with a walk-in shower can dramatically improve everyday function. The existing alcove often provides enough room for a noticeably larger shower without expanding the bathroom footprint.
Do not assume the old tub drain, shower setup, or walls can simply stay as-is. Waterproofing, drainage, plumbing locations, wall preparation, and glass all need to be evaluated as part of the project.
Our tub-to-shower conversion guide will help homeowners explore when removing a tub makes sense and discover what changes to drainage, waterproofing, glass, storage, and entry may be required.
A little patience during planning usually costs less than changing the layout once the work has started. Contractors should acknowledge any conditions they discover after demolition and communicate changes before moving forward. If the scope changes, read the change order carefully and confirm approval by email before you sign it.
Walk-In Showers That Feel Luxurious
A luxurious shower is usually spacious enough, easy to clean, well lit, and comfortable to use. It does not need every available feature.
A well-placed bench, handheld fixture, warm tile palette, recessed storage, frameless glass, and restrained lighting can create more impact than adding several competing design elements. One thoughtful touch often does more than three unnecessary upgrades.
For more ideas on where premium finishes have the greatest effect, discover what makes a bathroom feel luxurious and explore how proportion, lighting, storage, materials, and installation quality work together.
Keep in mind that luxury still depends on basic performance. If water leaves the shower, the controls are awkward, or storage is out of reach, the room will not feel high-end no matter how expensive the tile is.
Walk-in shower planning works best as part of the entire room rather than as an isolated upgrade. Homeowners can discover the broader planning process in our full bathroom remodel guide, then read through the shower-specific decisions again before approving the final setup.
Before construction starts, ask the contractor to send final fixture selections, layout changes, and unresolved questions in one email. Everyone should agree on the scope before materials are ordered, and you should read the final plan before you sign off. That simple step makes it much easier to enter construction ready for the decisions ahead.